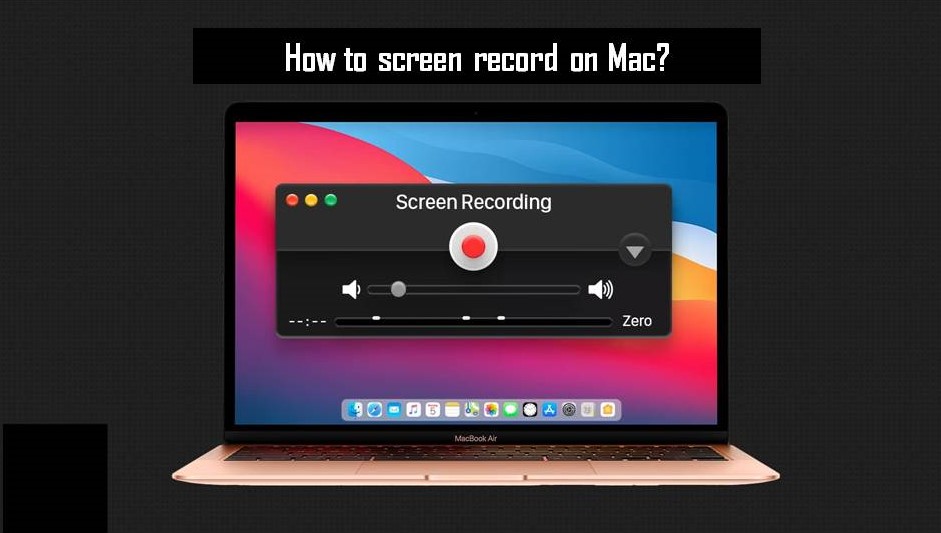
A screen recording is one of the functions available in mobiles and computers which helps in saving and capturing the content of the working screen but every operating system has its own tools and methods for screen recording, here we want to make you learn how to screen record on Mac step by step.
Methods of Screen Recording on Mac
There are two ways to screen record on Mac:-
- Screenshot Toolbar
- Quick Time Player
Let’s understand one by one both the ways of screen recording on Mac:-
Screenshot Toolbar
By using the screenshot toolbar we can record the screen on Mac, this toolbar can be used by pressing three keys together Shift + Command + 5.
After pressing onscreen control will appear with the help of this we can record entire screen, particular area of the screen as well as capture the image also.
Quick Time Player
QuickTime player comes pre-installed on your Mac device, you can follow below mentioned steps to start screen recording by using QuickTime player
- Open QuickTime Player then go to file section click on new screen recording.
- Then Tap the down arrow next to the recording button to make changes in recording settings.
- Click on record button to start screen record.
- Click on stop button or press Escape (Esc) to stop screen recording.
- After this QuickTime player allows you to play, edit, sharing of recording as it open the recording on the screen automatically.
Related Articles :
Will Turbotax 2017 Run On MacOS Mojave?
